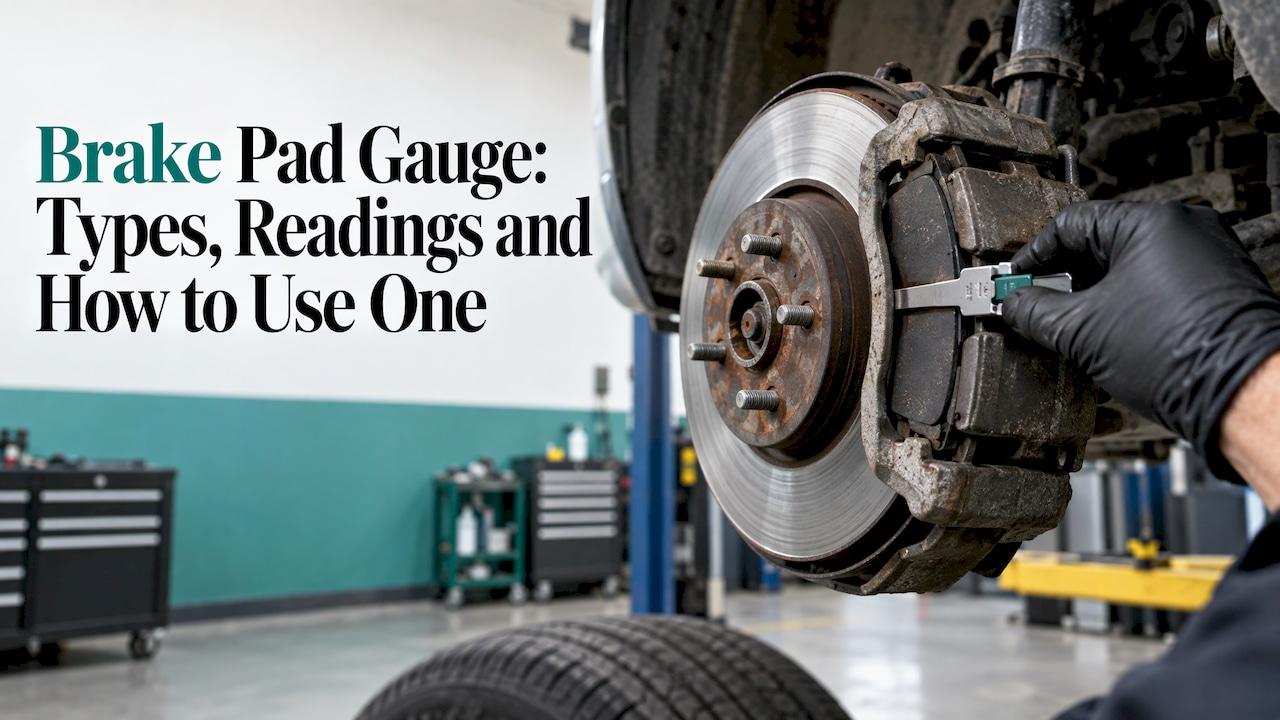
A brake pad gauge measures the friction material left on a disc brake pad, in millimeters, so you replace pads on a plan and not on a noise. Pick a gauge that fits between the rotor and the pad, measure the thinnest point of both the inner and outer pads, and read the number against the wear limit for your vehicle. A good gauge pays for itself the first time it saves you a rotor or a wasted wheel-off inspection. This guide covers the types, the method, the numbers and how to choose a tool that lasts in a busy bay.
TL;DR
- A brake pad gauge measures only the friction material, not the steel backing plate, and the thinnest reading is the one that counts.
- Color-coded blade sets are fastest for a quick check. Calipers and probe-style gauges give exact millimeter readings.
- Measure the inner and the outer pad. They can wear at different rates, and a big difference points to a caliper or slide-pin problem.
- Always follow the minimum thickness in your vehicle's service manual, and have the brakes inspected if you hear grinding or feel pulling or a pulsing pedal.
- For shop use, choose a durable gauge with offset tips so it reaches between the rotor and pad without removing the wheel.
Table of Contents
- What a brake pad gauge actually measures
- Types of brake pad gauges
- How to measure brake pad thickness, step by step
- Reading the numbers: what 2 mm, 3 mm and 4 mm mean
- Check both pads, and know what makes a reading wrong
- How often to check
- How to choose a gauge that lasts
- Get the gauge, and the lift to match
- Our view: measure, record, then lift
- FAQ
- Sources
What a brake pad gauge actually measures
A disc brake pad has two parts: a steel backing plate and a layer of friction material bonded to it. Only the friction material stops the car. Measure only that layer, because the backing plate does not contribute to stopping power. A gauge is simply a controlled way to read that layer's thickness without guessing.
The tool earns its place because pads are hard to judge by eye. Through the spokes of a wheel you often see only the outer pad, and a slim edge can look fine at a glance. A gauge turns that look into a number you can write on a work order, compare with the last visit and use to schedule the job before the pads are finished.

Types of brake pad gauges
Most shops end up with more than one kind. They fall into a few families, and each has a job.
| Type | Best for | Reading | Notes |
|---|---|---|---|
| Color-coded blade set | Fast checks, customer walk-arounds | Pass, marginal or fail by blade size | Sets typically run from about 2 mm to 12 mm, with green, yellow and red markings |
| Stepped or go/no-go gauge | Quick pass or fail against a set limit | Fits or does not fit | Quick to use, little interpretation needed |
| Probe-style or offset-tip gauge | Measuring on the vehicle, restricted access | Millimeters on a scale or dial | Offset or right-angle tips reach between rotor and pad |
| Digital or dial caliper | Off-vehicle measurement, records | Exact millimeters | Digital calipers read to roughly 0.01 mm |
| Feeler gauge or micrometer | Bench work, comparing pads | Exact millimeters | Needs the pad accessible |
The general families above are described by a guide to brake pad gauge types, which lists feeler gauges, go/no-go gauges, calipers and micrometers among the common tools. Color-coded sets typically use green, yellow and red markings across a range of roughly 2 mm to 12 mm.
Color-coded blade gauges
These are the tools most people picture when they search for a brake pad gauge. Each blade or step is a known thickness. You slide the one that fits against the friction material and see which color it lands in. They are cheap, light and quick, which makes them ideal for a pre-service inspection or a seasonal check.
Probe-style gauges with a scale
A probe-style gauge has a thin tip that goes between the rotor and the pad and a scale that shows millimeters. A trade-press review of the OTC 6596 described how this kind of tool can often be used without removing the wheel assembly or caliper, with millimeter readings and color-coded pass, marginal and fail zones. That combination of a number and a color is why this style suits a busy bay.
Calipers
When you have the pad off the car, or when you want a record that holds up, calipers are the precise option. Digital calipers provide precision to roughly 0.01 mm, while dial or vernier calipers are durable, battery-free choices for shop use.
How to measure brake pad thickness, step by step
- Park on level ground, engine off, parking brake set, wheels chocked. Let the brakes cool. If you need to remove a wheel, lift the vehicle on a proper lift or on jack stands, never on a jack alone. A solid lift makes every brake check faster and safer, which is why shops invest in one first.
- Get a clear view. On many vehicles you can see the outer pad through the wheel spokes with a flashlight. If the design blocks your view, use an offset-tip gauge or take the wheel off.
- Choose the right gauge size. Start with a blade or tip that matches the thickness you expect, then step down. You are looking for the largest size that still fits against the friction material.
- Place the gauge on the friction material only. Keep it square to the pad and away from the steel backing plate. Some gauges are made to check both straight on or at an angle with offset tips, which helps where a straight tool will not fit.
- Do not lean on the caliper. Touching the caliper body while measuring can offset the result by several millimeters, so hold the tool in the gap and let it sit naturally.
- Measure three points on each pad. Pads often wear unevenly, so read near the leading end, the center and the trailing end. Use the lowest of the three as your result.
- Repeat on the inner pad. This is the one people skip, and it is often the worst one. See the next section.
- Compare the reading with the minimum in the service manual and write it down. A logged number for each wheel shows you the wear rate and lets you plan the next job.
Plan the whole axle at once. Measure left and right, inner and outer, and treat the lowest figure as the one that sets your schedule.
Reading the numbers: what 2 mm, 3 mm and 4 mm mean
There is no single number that is right for every vehicle. Pad makers and vehicle makers set their own limits, so the service manual for your vehicle is the authority. A few published figures show how much the limits vary.
- On heavy-duty trailers with SAF-HOLLAND P89 disc brake axles, the manufacturer's service manual says pads must be replaced when the friction material is under 2 mm at its thinnest point.
- Harley-Davidson's service documentation for 2013 Dyna models gives a minimum friction material thickness of 1.02 mm.
Passenger cars and light trucks have their own specifications, and the figures differ by brand and model. A practical way to use a gauge is with three zones that match the color-coded sets:
- Comfortable: plenty of material left. Log the reading and recheck at the next service.
- Marginal: the pads are in the range where replacement should be scheduled. Order parts and book the job.
- Fail: at or near the manufacturer's minimum. Replace now, and have the brakes inspected if you have any doubt.
So, is 4 mm okay? It is usable, and it is the point where you start planning, because pads at that thickness are partway through their life and wear continues with every stop. Is 2 mm low? It is at or below the wear limit that some manufacturers publish, and the pads should be replaced and the brakes inspected. If your reading is 3 mm or less, do not wait for the next scheduled visit: book a brake inspection with a qualified technician.
Check both pads, and know what makes a reading wrong
The inner pad sits behind the piston and out of sight, and it can wear faster than the outer one when a caliper or slide pin is not moving freely. Check both pads on every wheel. Do not include the backing plate in the measurement, and do not let a difference between the two go unexplained.
On the SAF-HOLLAND P89 axle, the manual sets a maximum wear difference of 5.0 mm between the inner and outer pads. Even on a car, a large gap between inner and outer is a sign that the caliper needs attention, not just new pads.
Common sources of a bad reading:
- Touching the caliper or rotor edge with the gauge, which tilts the tool.
- Measuring the backing plate because the tip slid past the friction material.
- A rust lip on the rotor edge that stops the gauge from sitting flat.
- Reading only one spot. A pad can taper from one end to the other.
- A worn or bent gauge. Thin blades and tips are used hard; replace them when the markings fade or the edges bend.
A gauge tells you thickness and nothing else. It will not reveal a cracked friction block, a seized piston or a pad that is separating from its plate. If you see damage, or if the car pulls to one side, the pedal pulses or feels odd, or you hear grinding or squealing, have the brakes inspected by a qualified technician.
How often to check
For heavy-duty equipment the SAF-HOLLAND manual calls for pad inspections at least every three months or 20,000 miles, whichever comes first. Another manufacturer's manual recommends a visual check of the brakes through the wheel at every tire pressure check. Both give a useful rhythm for any vehicle: a quick look often, and a measured reading on a schedule.
For a passenger car, a sensible routine is a quick look at each tire rotation and a full gauge reading, on all four wheels, at every service. For a fleet or a busy shop, make the gauge reading part of every wheel-off job and log it.

A quick flashlight look or a check of the molded wear slot can tell you the pads are clearly in good shape. When the look is close or unclear, use the gauge, because a number beats a guess.
How to choose a gauge that lasts
The cheapest gauge is often the one you replace twice. Look for these qualities:
- A range that covers the limits you work to. A set that runs from the minimum up to about 12 mm covers most passenger car pads.
- Offset or right-angle tips. They reach the gap between the rotor and the pad where a straight tool cannot fit.
- Clear markings that will not wear off. Etched or molded marks last longer than printed ones.
- Both millimeter and color zones. The OTC 6596 review noted millimeter readings together with pass, marginal and fail colors, a format that works for both techs and customers.
- A caliper for the bench. Dial or vernier calipers need no battery, and digital ones add resolution.
- A case or holder. A gauge that lives in a drawer with wrenches will not stay accurate for long.
For a shop, buy more than one gauge, so a measurement never waits on a missing tool. For a home garage, one color-coded set and one caliper cover almost every job.
Get the gauge, and the lift to match
Checking brakes properly starts with getting the vehicle up safely and the wheel off with room to work. Our hand tools and garage equipment range is built for professional mechanics, shop owners and serious DIY users, and every product comes with a 12-month warranty, free shipping and our price-match guarantee.

If your brake jobs are growing, the next step is usually a better way to lift. Browse our car lifts, including scissor lifts and the 6000TLX portable car lift, or look at wheel service equipment such as wheel balancers for the tire work that follows a brake job.
Our view: measure, record, then lift
We see the brake pad gauge as the cheapest piece of insurance in the bay. It is small, it takes a minute and it turns a feeling into a number you can act on.
Our advice is to build the habit around three things. Measure the thinnest point of the inner and the outer pad. Write the number down against the vehicle and the date. Then plan the replacement before the pads reach the manufacturer's limit.
That habit works best with equipment that makes the job easy to do right. A stable lift at a comfortable working height, good hand tools within reach and storage that keeps a gauge clean and accurate all make the inspection faster, and a fast inspection is one that actually happens. That is why we supply automotive tools and equipment for professional mechanics, shop owners and DIY users, backed by a 12-month warranty, free shipping and a price-match guarantee.
the author
FAQ
How do I measure brake pad thickness?
Place the gauge against the friction material only, not the steel backing plate, and keep it square to the pad. Measure at the leading end, the center and the trailing end, and use the lowest reading. Do this on both the inner and the outer pad of every wheel.
Is 4 mm left on brake pads okay?
Yes, the pads still work, but 4 mm is the range where you should begin planning a replacement. Pads keep wearing with every stop, so measure again at your next service and order parts early. Compare the number with the minimum in your vehicle's service manual.
Is 2 mm low for brake pads?
Yes. Some manufacturers set their replacement limit at around 2 mm, for example SAF-HOLLAND for its P89 disc brake axles. At 2 mm or below, replace the pads and have a qualified technician inspect the brakes.
Do I need to remove the wheel to use a brake pad gauge?
Not always. Probe-style gauges with offset tips can often measure through the wheel opening, as one trade-press tool review notes. When the view is blocked or you want to see the inner pad and the caliper, lift the vehicle safely and remove the wheel.
When should I have the brakes inspected instead of just measuring?
Get a professional inspection if you hear grinding or squealing, feel the car pull to one side, notice a pulsing or odd pedal, see visible damage or measure 3 mm or less. A gauge measures thickness only, so it cannot find cracked friction blocks, seized pistons or pad separation.